Organization Settings
e-Line Settings
On the side menu, navigate to Organization Management > Org-Level Settings > e-Line Settings.
The changes you make here will automatically be applied to every user in your organization.
You can learn about each option on this page here.
If you would like to keep your users from changing these settings for their own profiles, simply check “Enforced” checkbox. Your users will see this setting as disabled in their own button configuration settings.

e-Room Settings
On the side menu, navigate to Organization Management > Org-Level Settings > e-Room Settings.
Here you can manage your organization's e-room settings.
If you would like to keep your users from changing these settings for their own profiles, simply check “Enforced” checkbox.
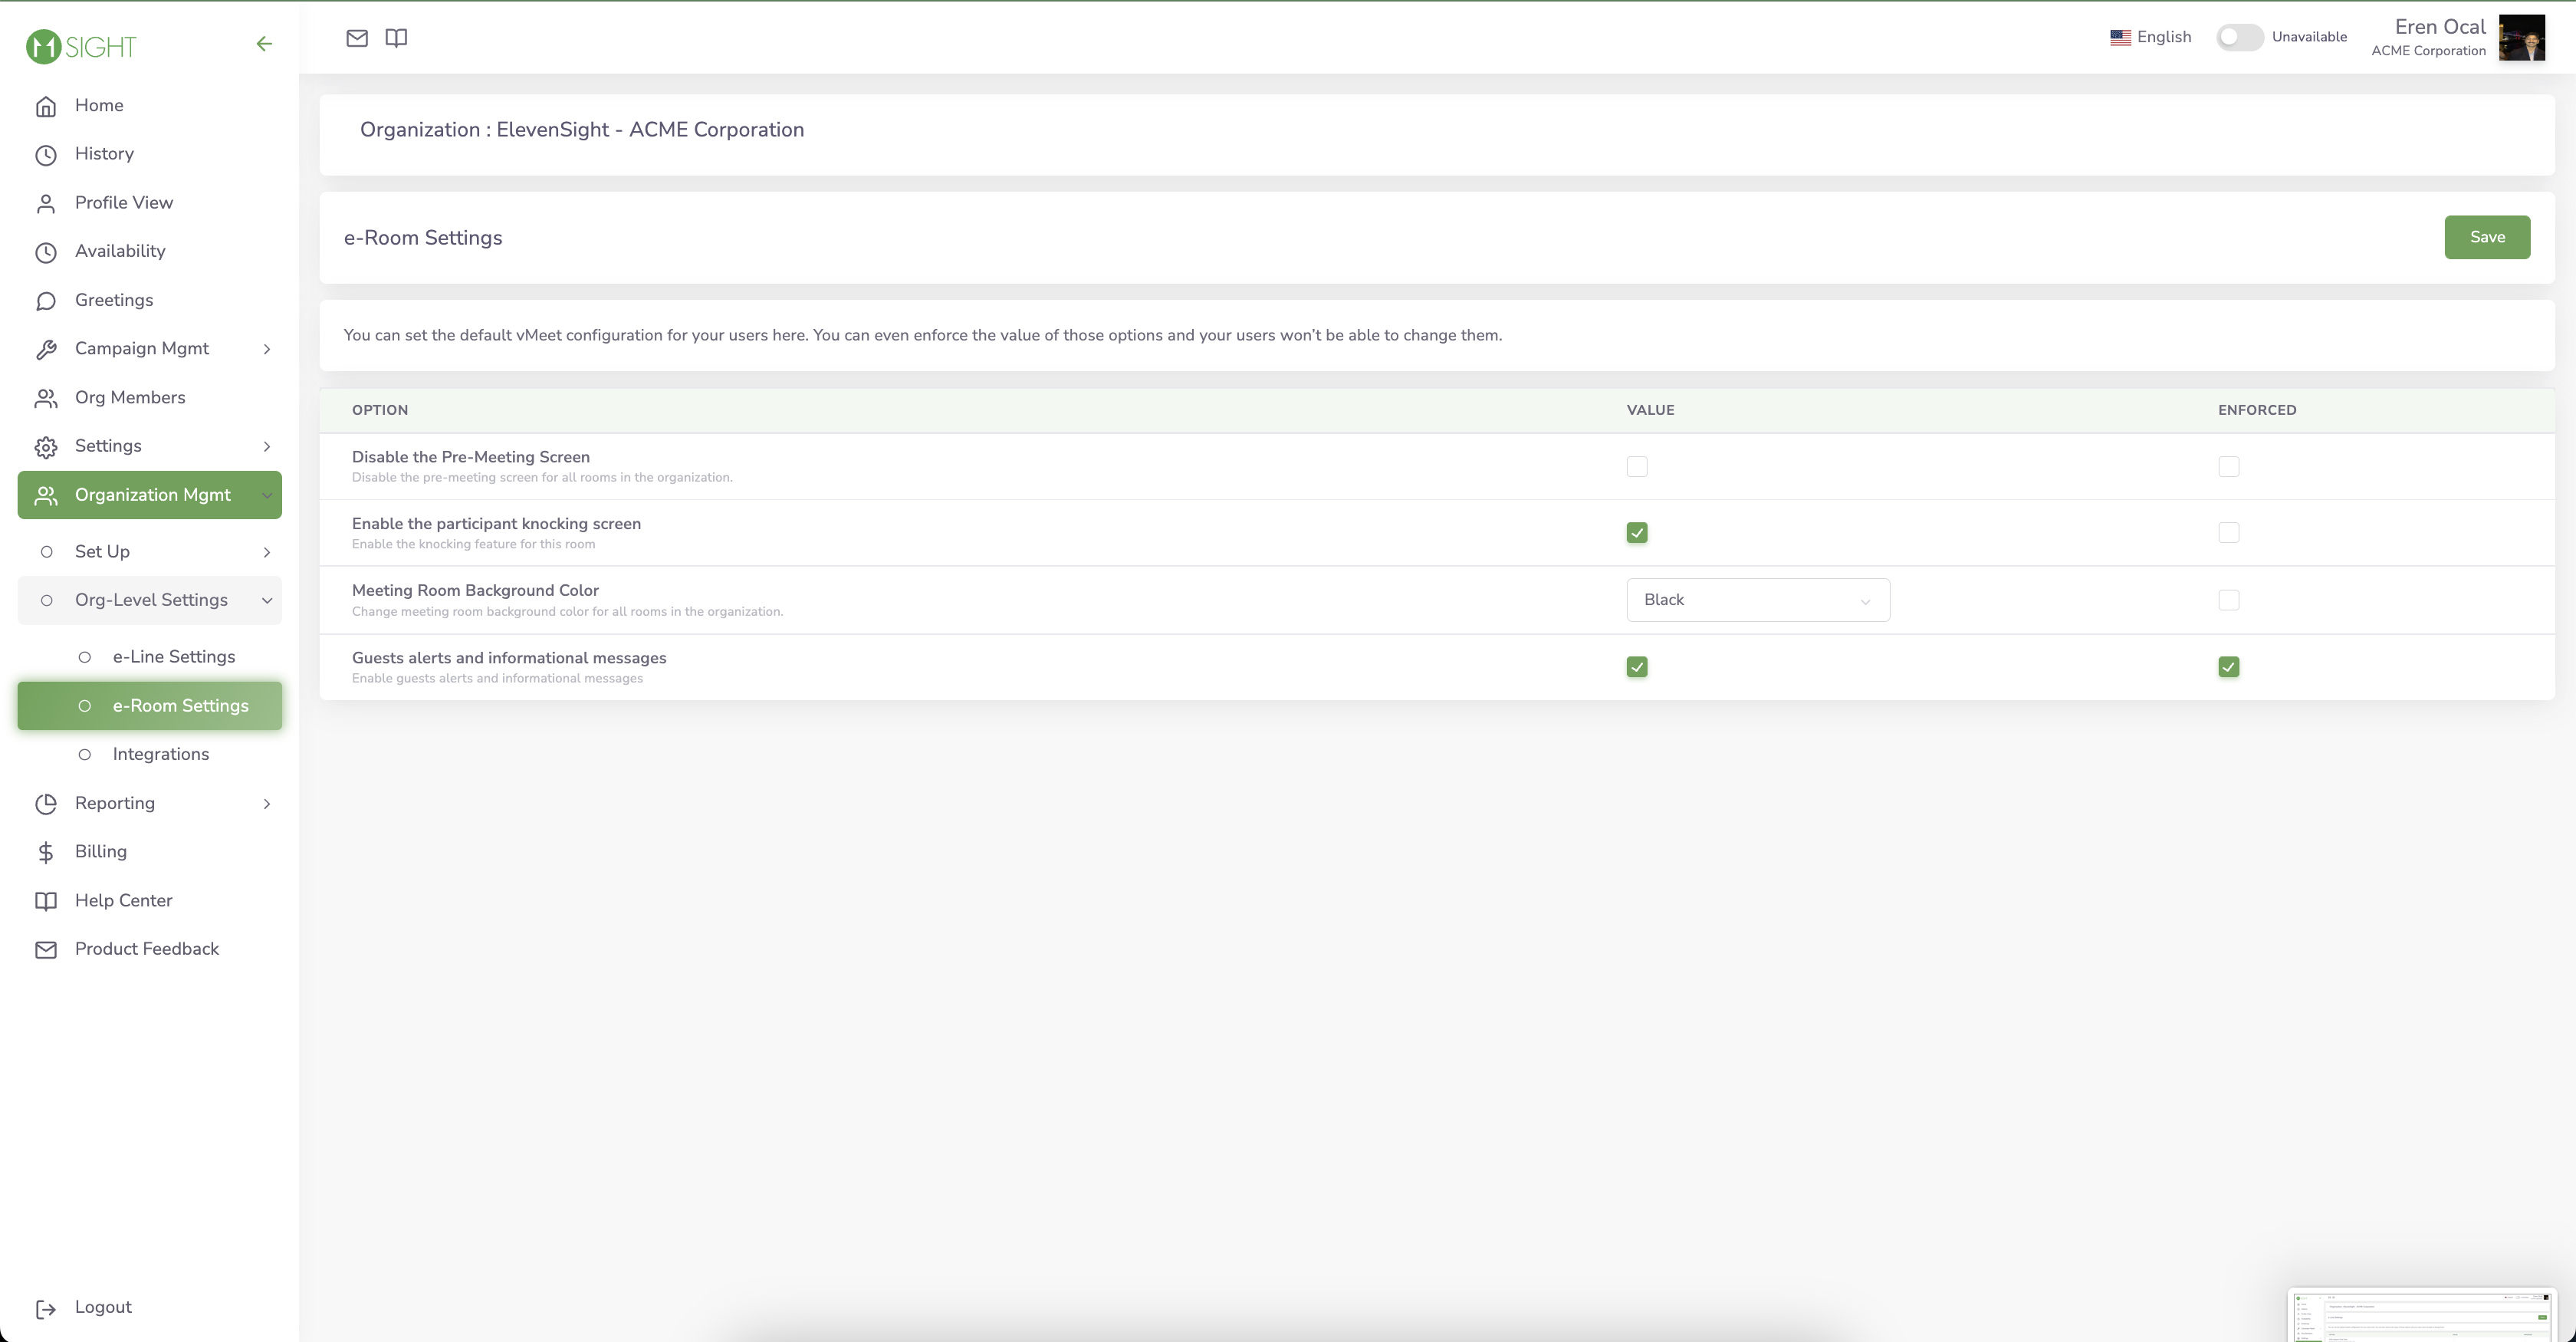
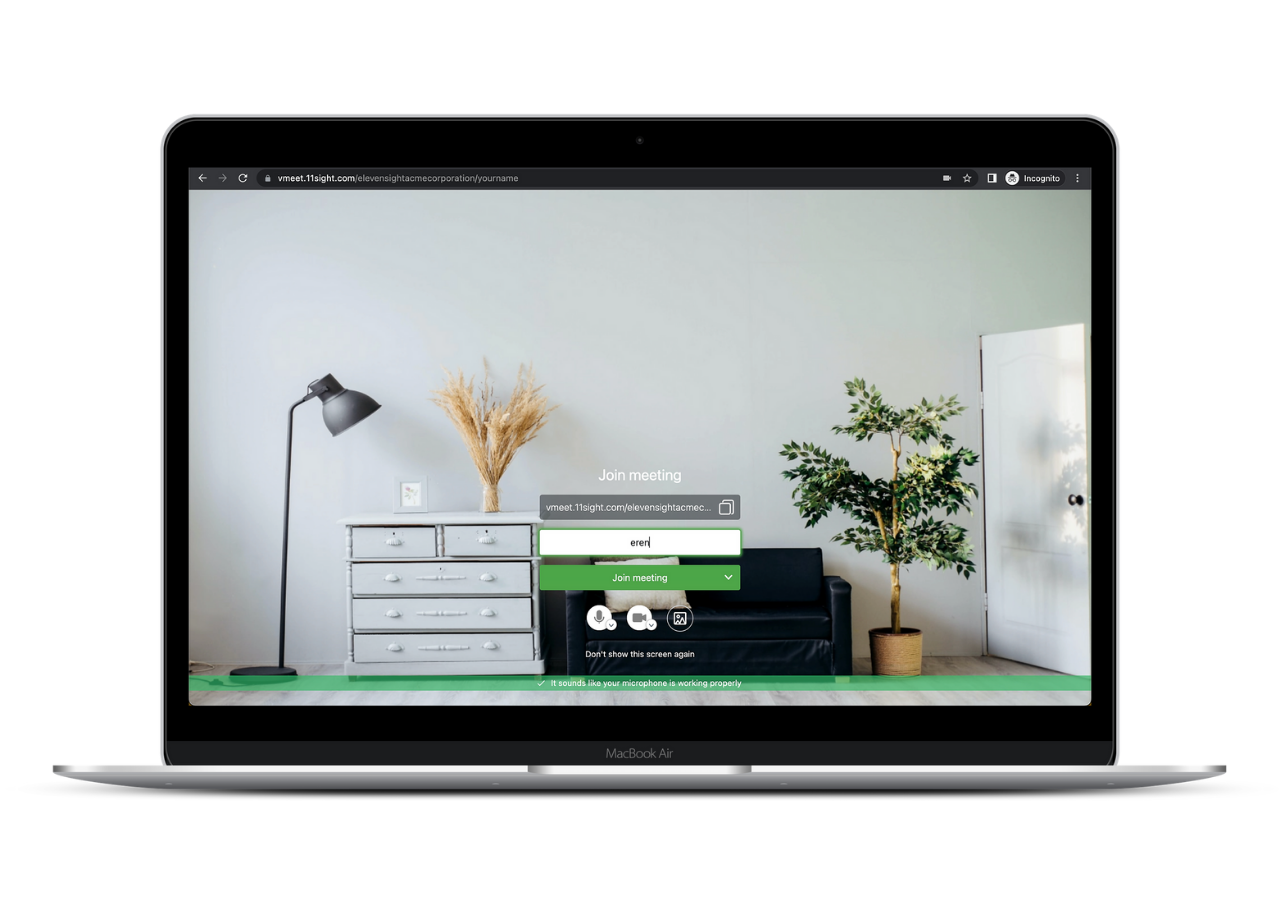
Disable Pre-Meeting Screen
The pre-meeting screen allows participants to test their devices and set up their backgrounds before joining the meeting.
By checking this value you will disable the pre-meeting screen for all rooms in your organization.
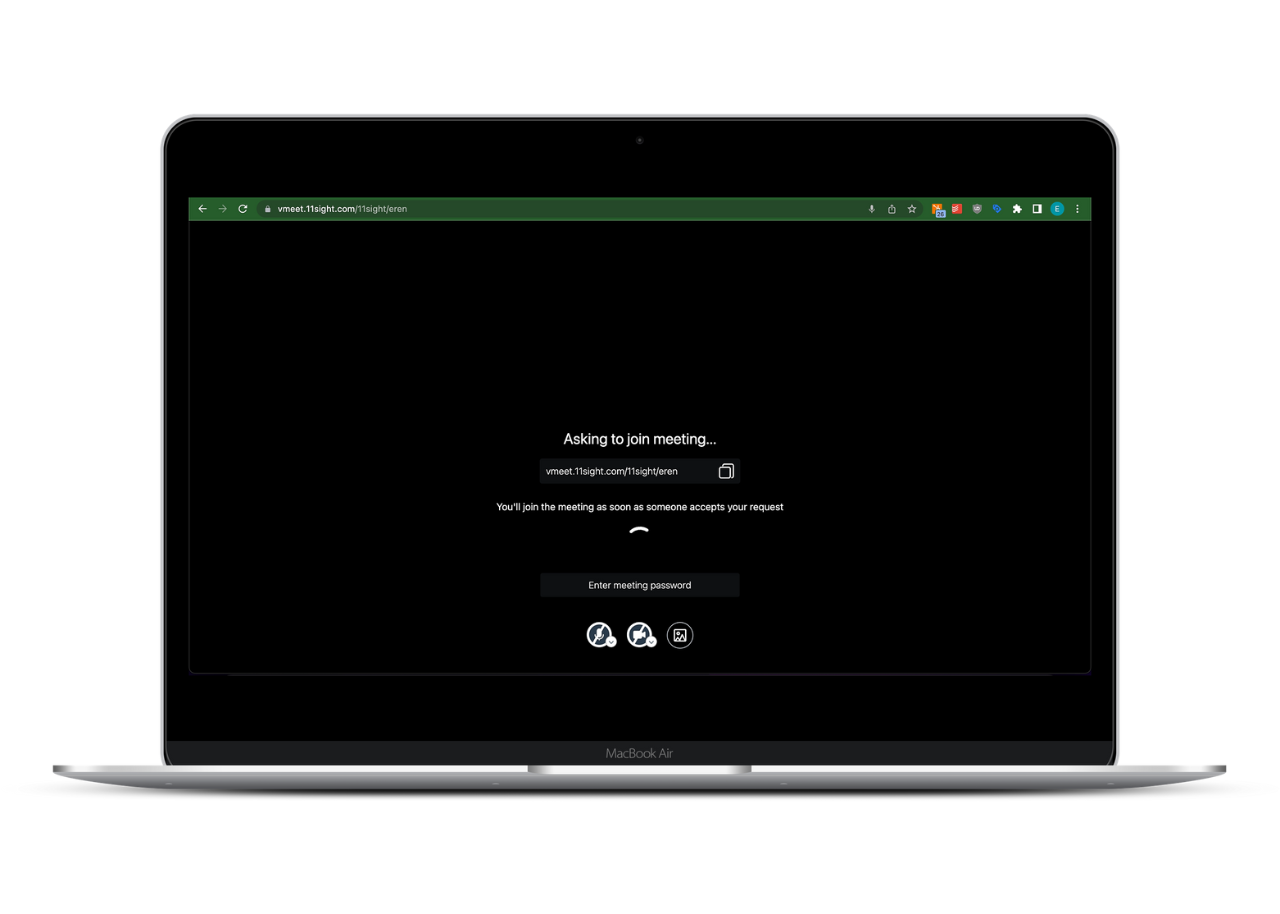
Enable the participant knocking screen
By enabling this feature you stop participants from automatically joining the meeting.
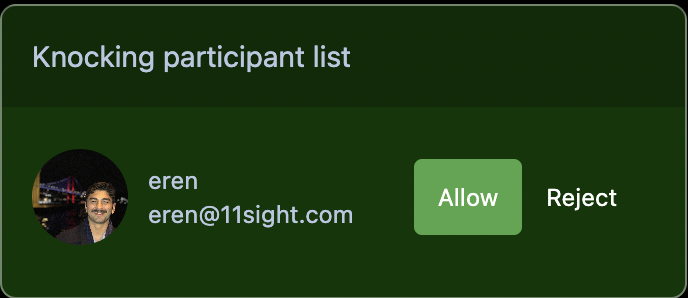
When participants try to enter the room they will join a waiting room and knock to enter.
The moderator will see a popup on the left side of the meeting room where they can allow or deny the participants.
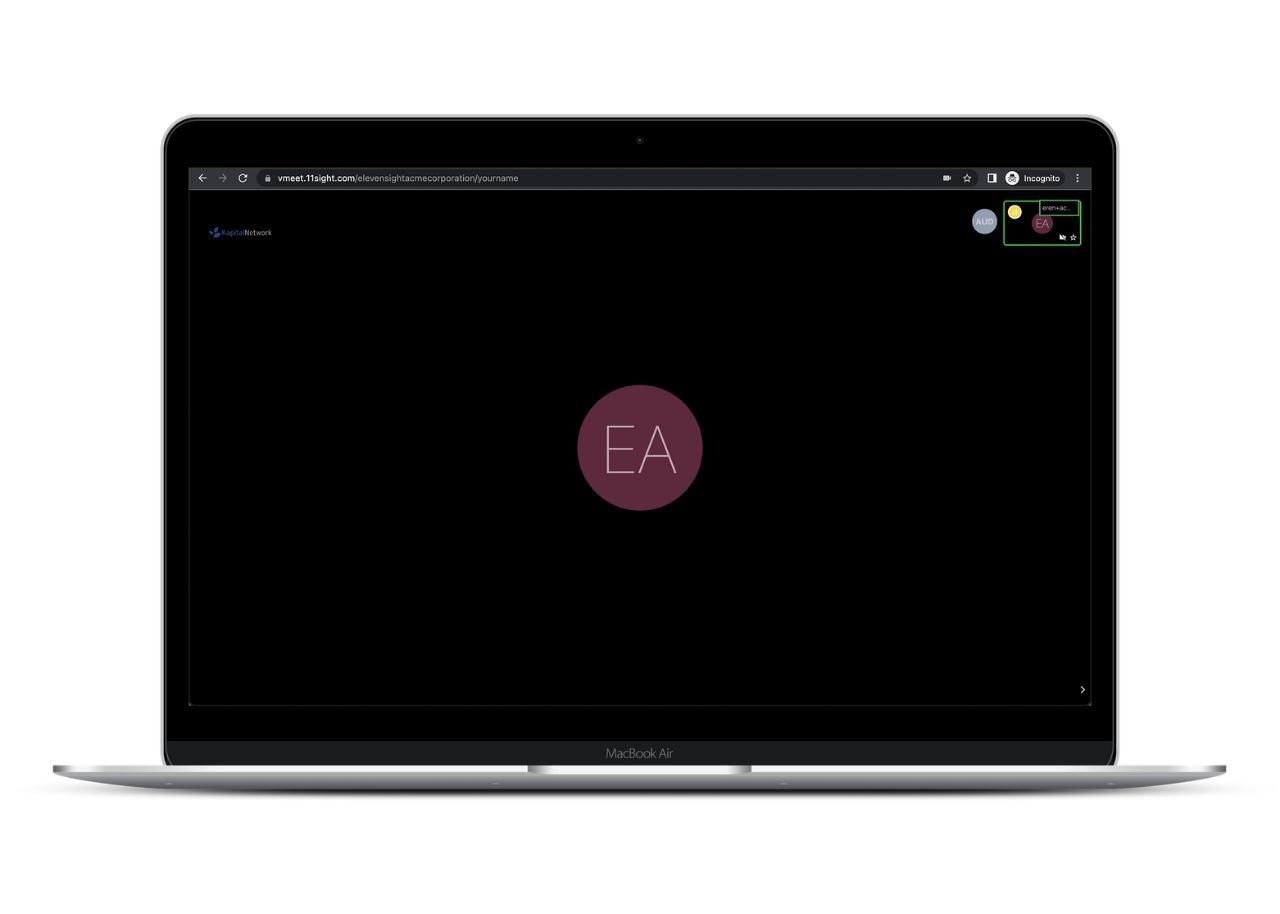
Meeting Room Background Color
Meeting rooms have a dark green background by default.
You can change the background color to black by changing this setting.
Guest Alerts and Informational Messages
Guest alerts and informational messages are displayed within the meeting room. They include alerts for when:
Their microphone is too noisy
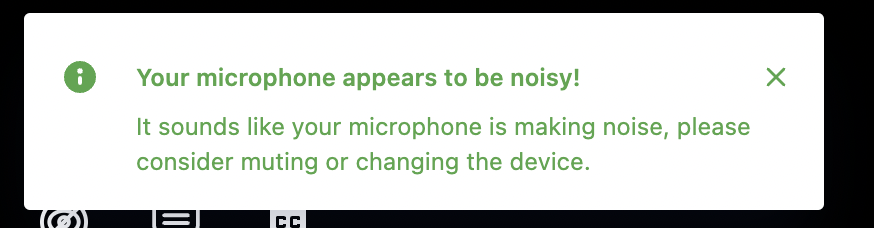
Their connection is sub-optimal
By checking this value you are disabling these alerts for guest participants only. Signed in users in your organization will continue seeing them.
Integrations
On the side menu, navigate to Organization Management > Org-Level Settings > Integrations.
Here depending on your plan you will see the integrations available to your organization for you to manage.
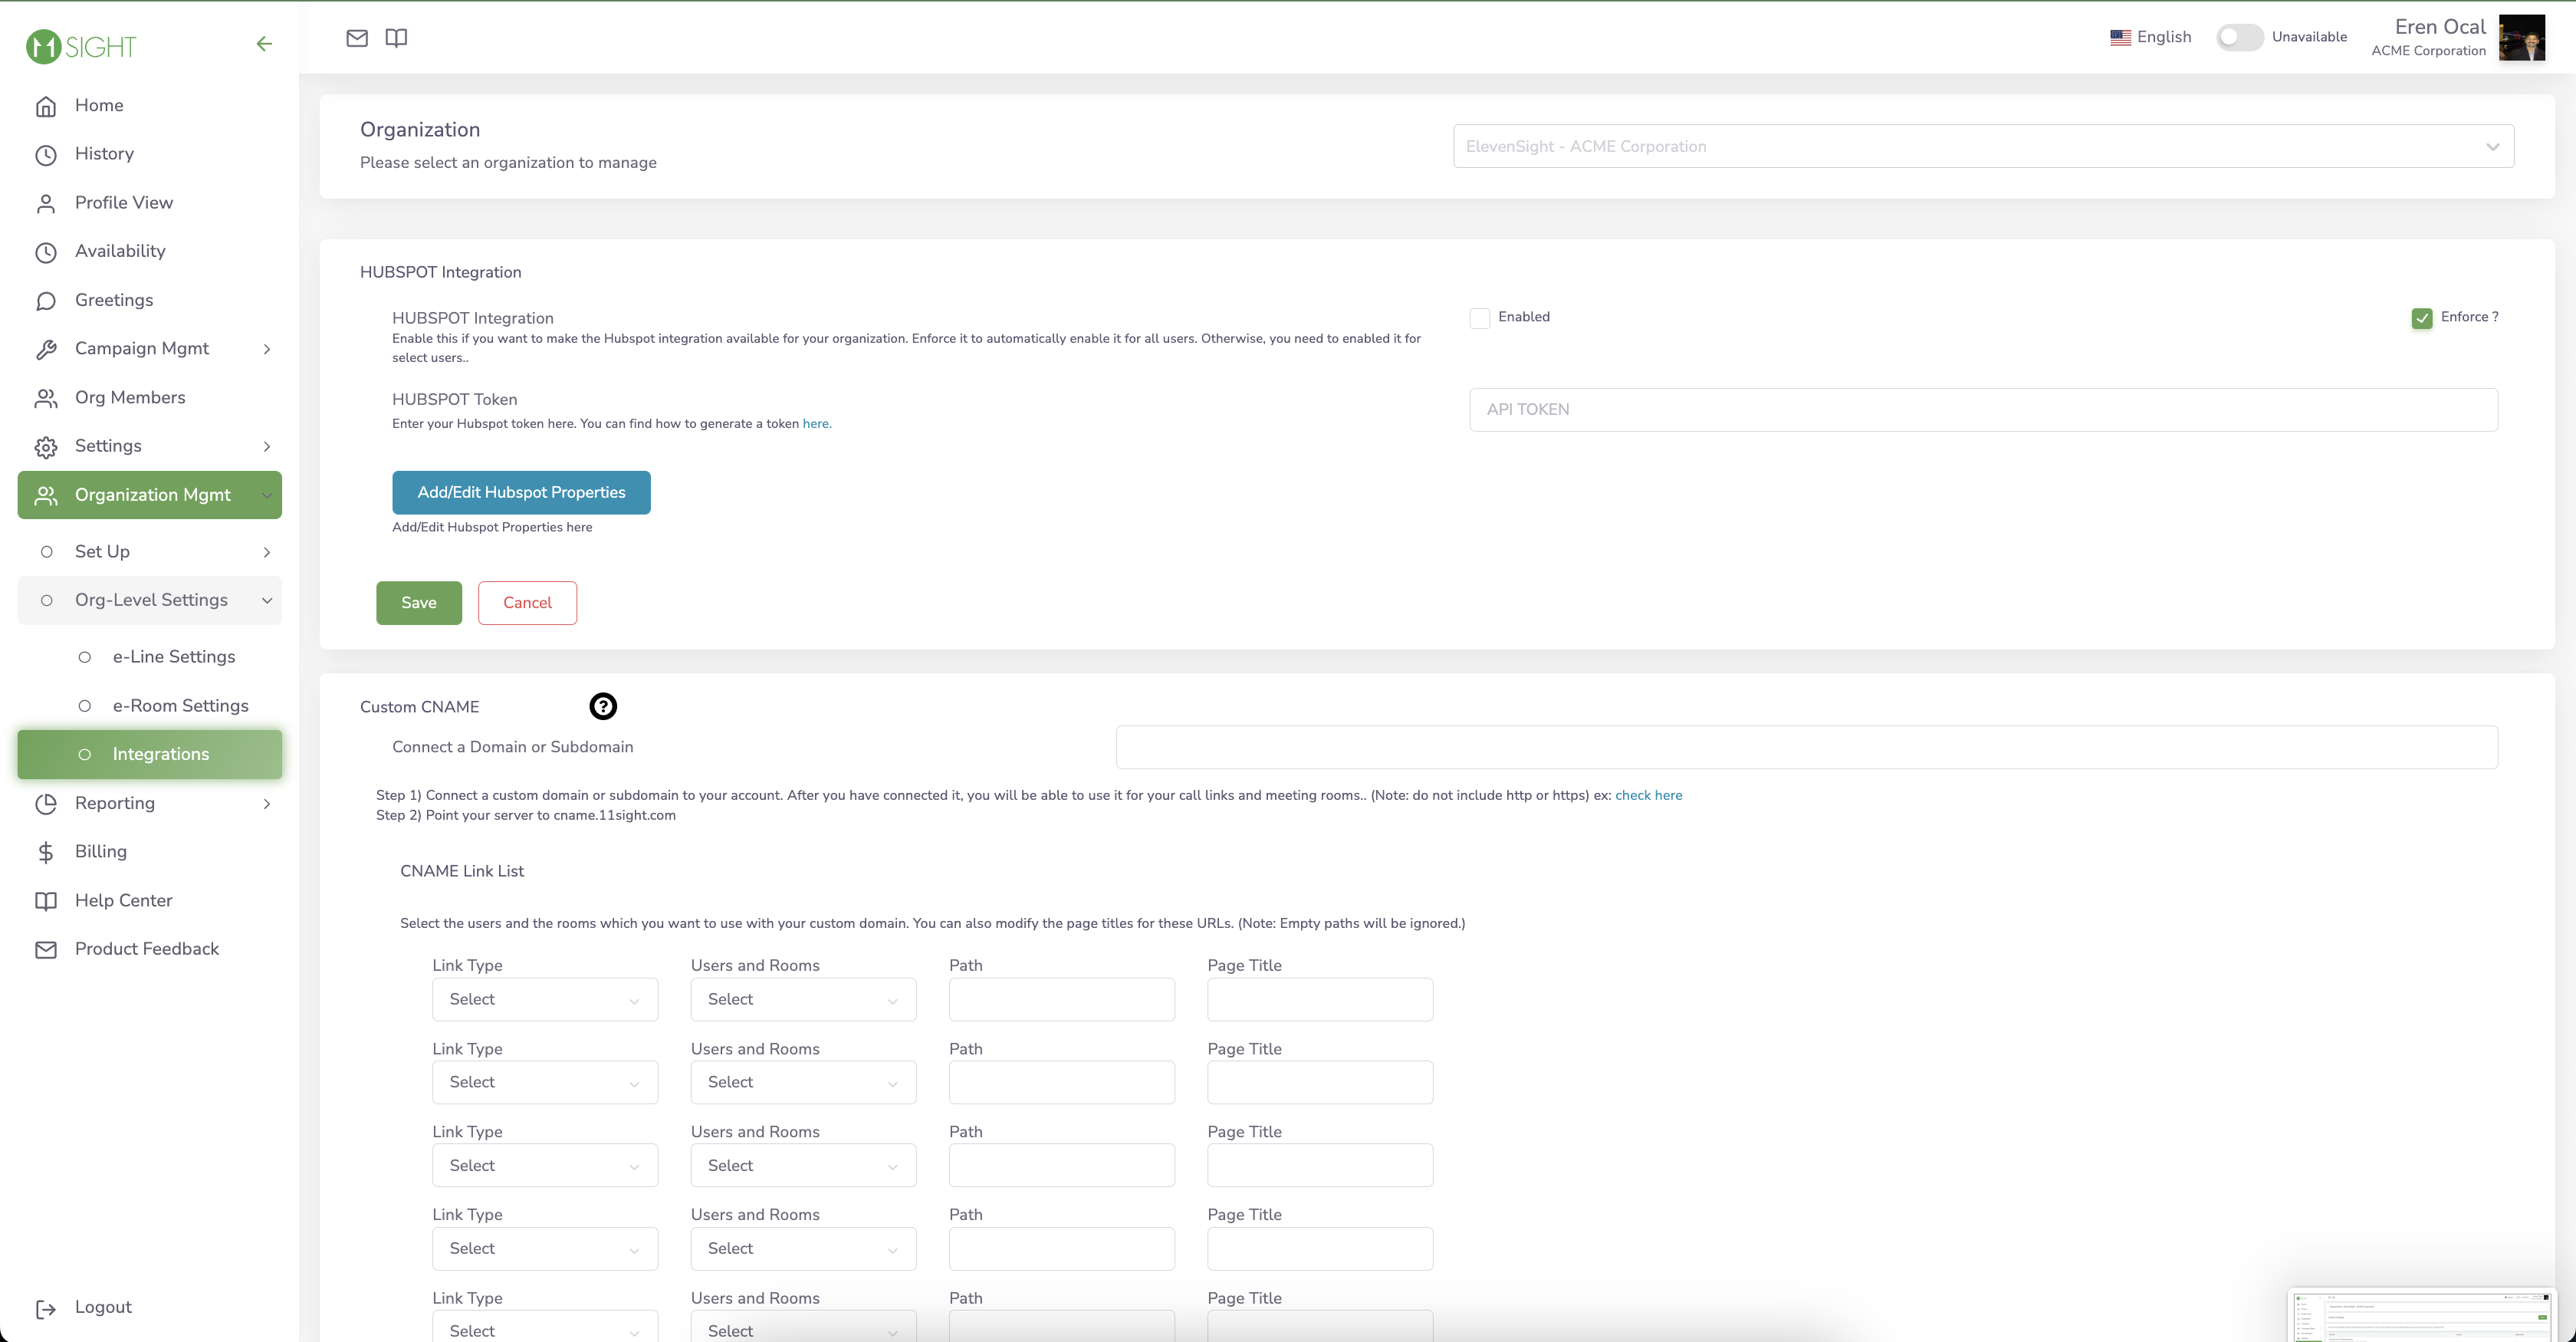
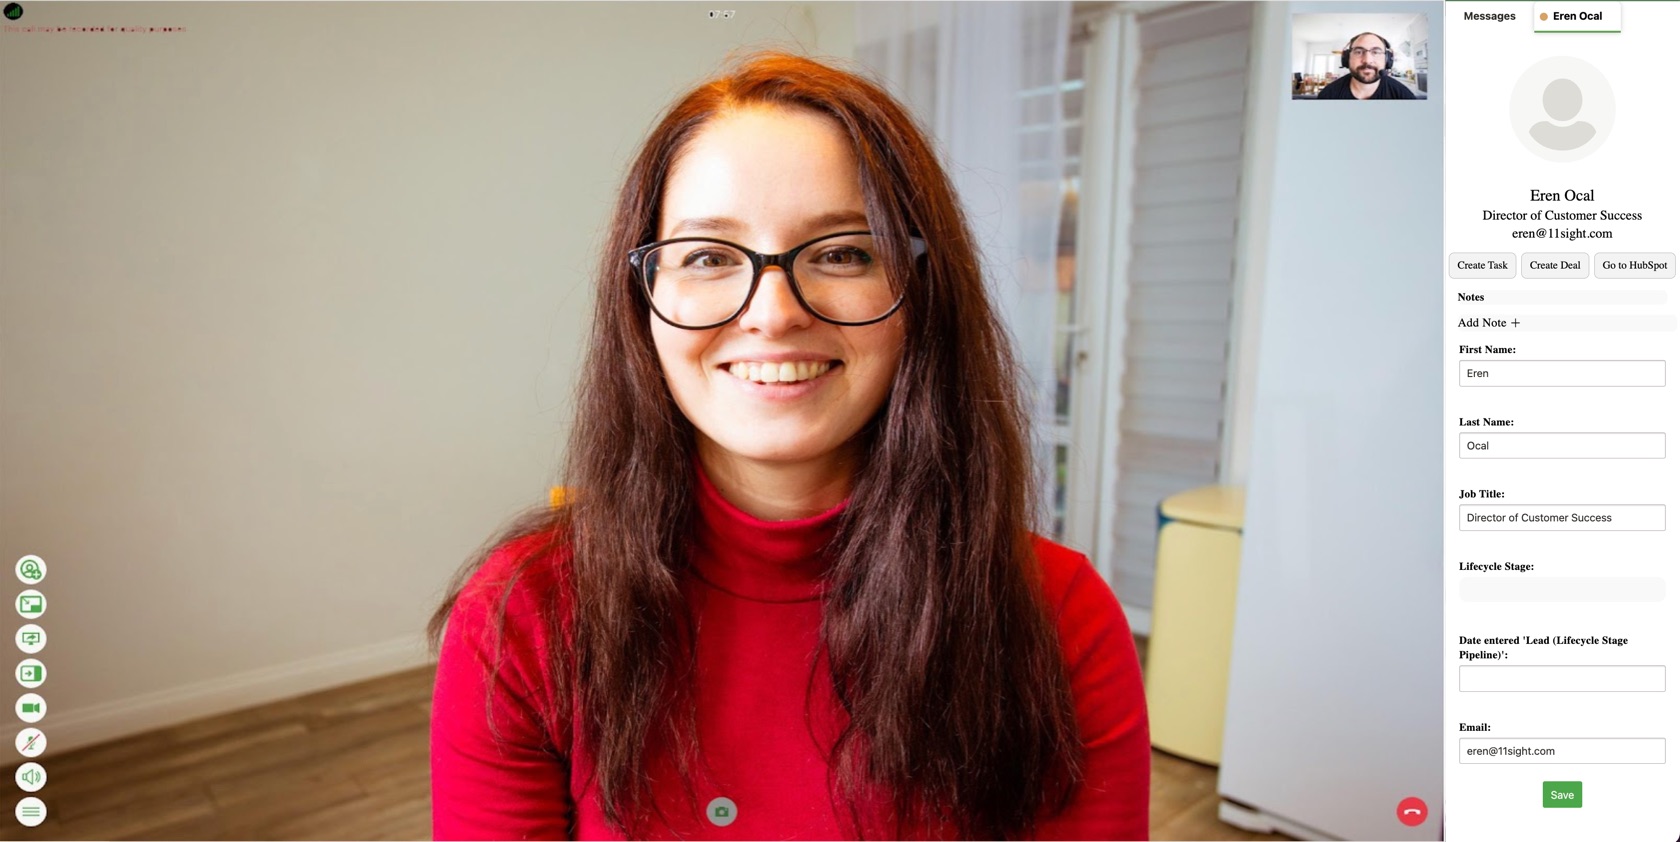
HubSpot
In order to set up the HubSpot Integration please follow the steps from the help article here.
You can enable the HubSpot integration for all users by enabling it from here and checking the “Enforce?” box.
If you wish to enable it only for select users you can do so from their e-line Settings.
Zapier (Beta)
In order to participate in the beta version of our Zapier integration, please contact us at support@11sight.com
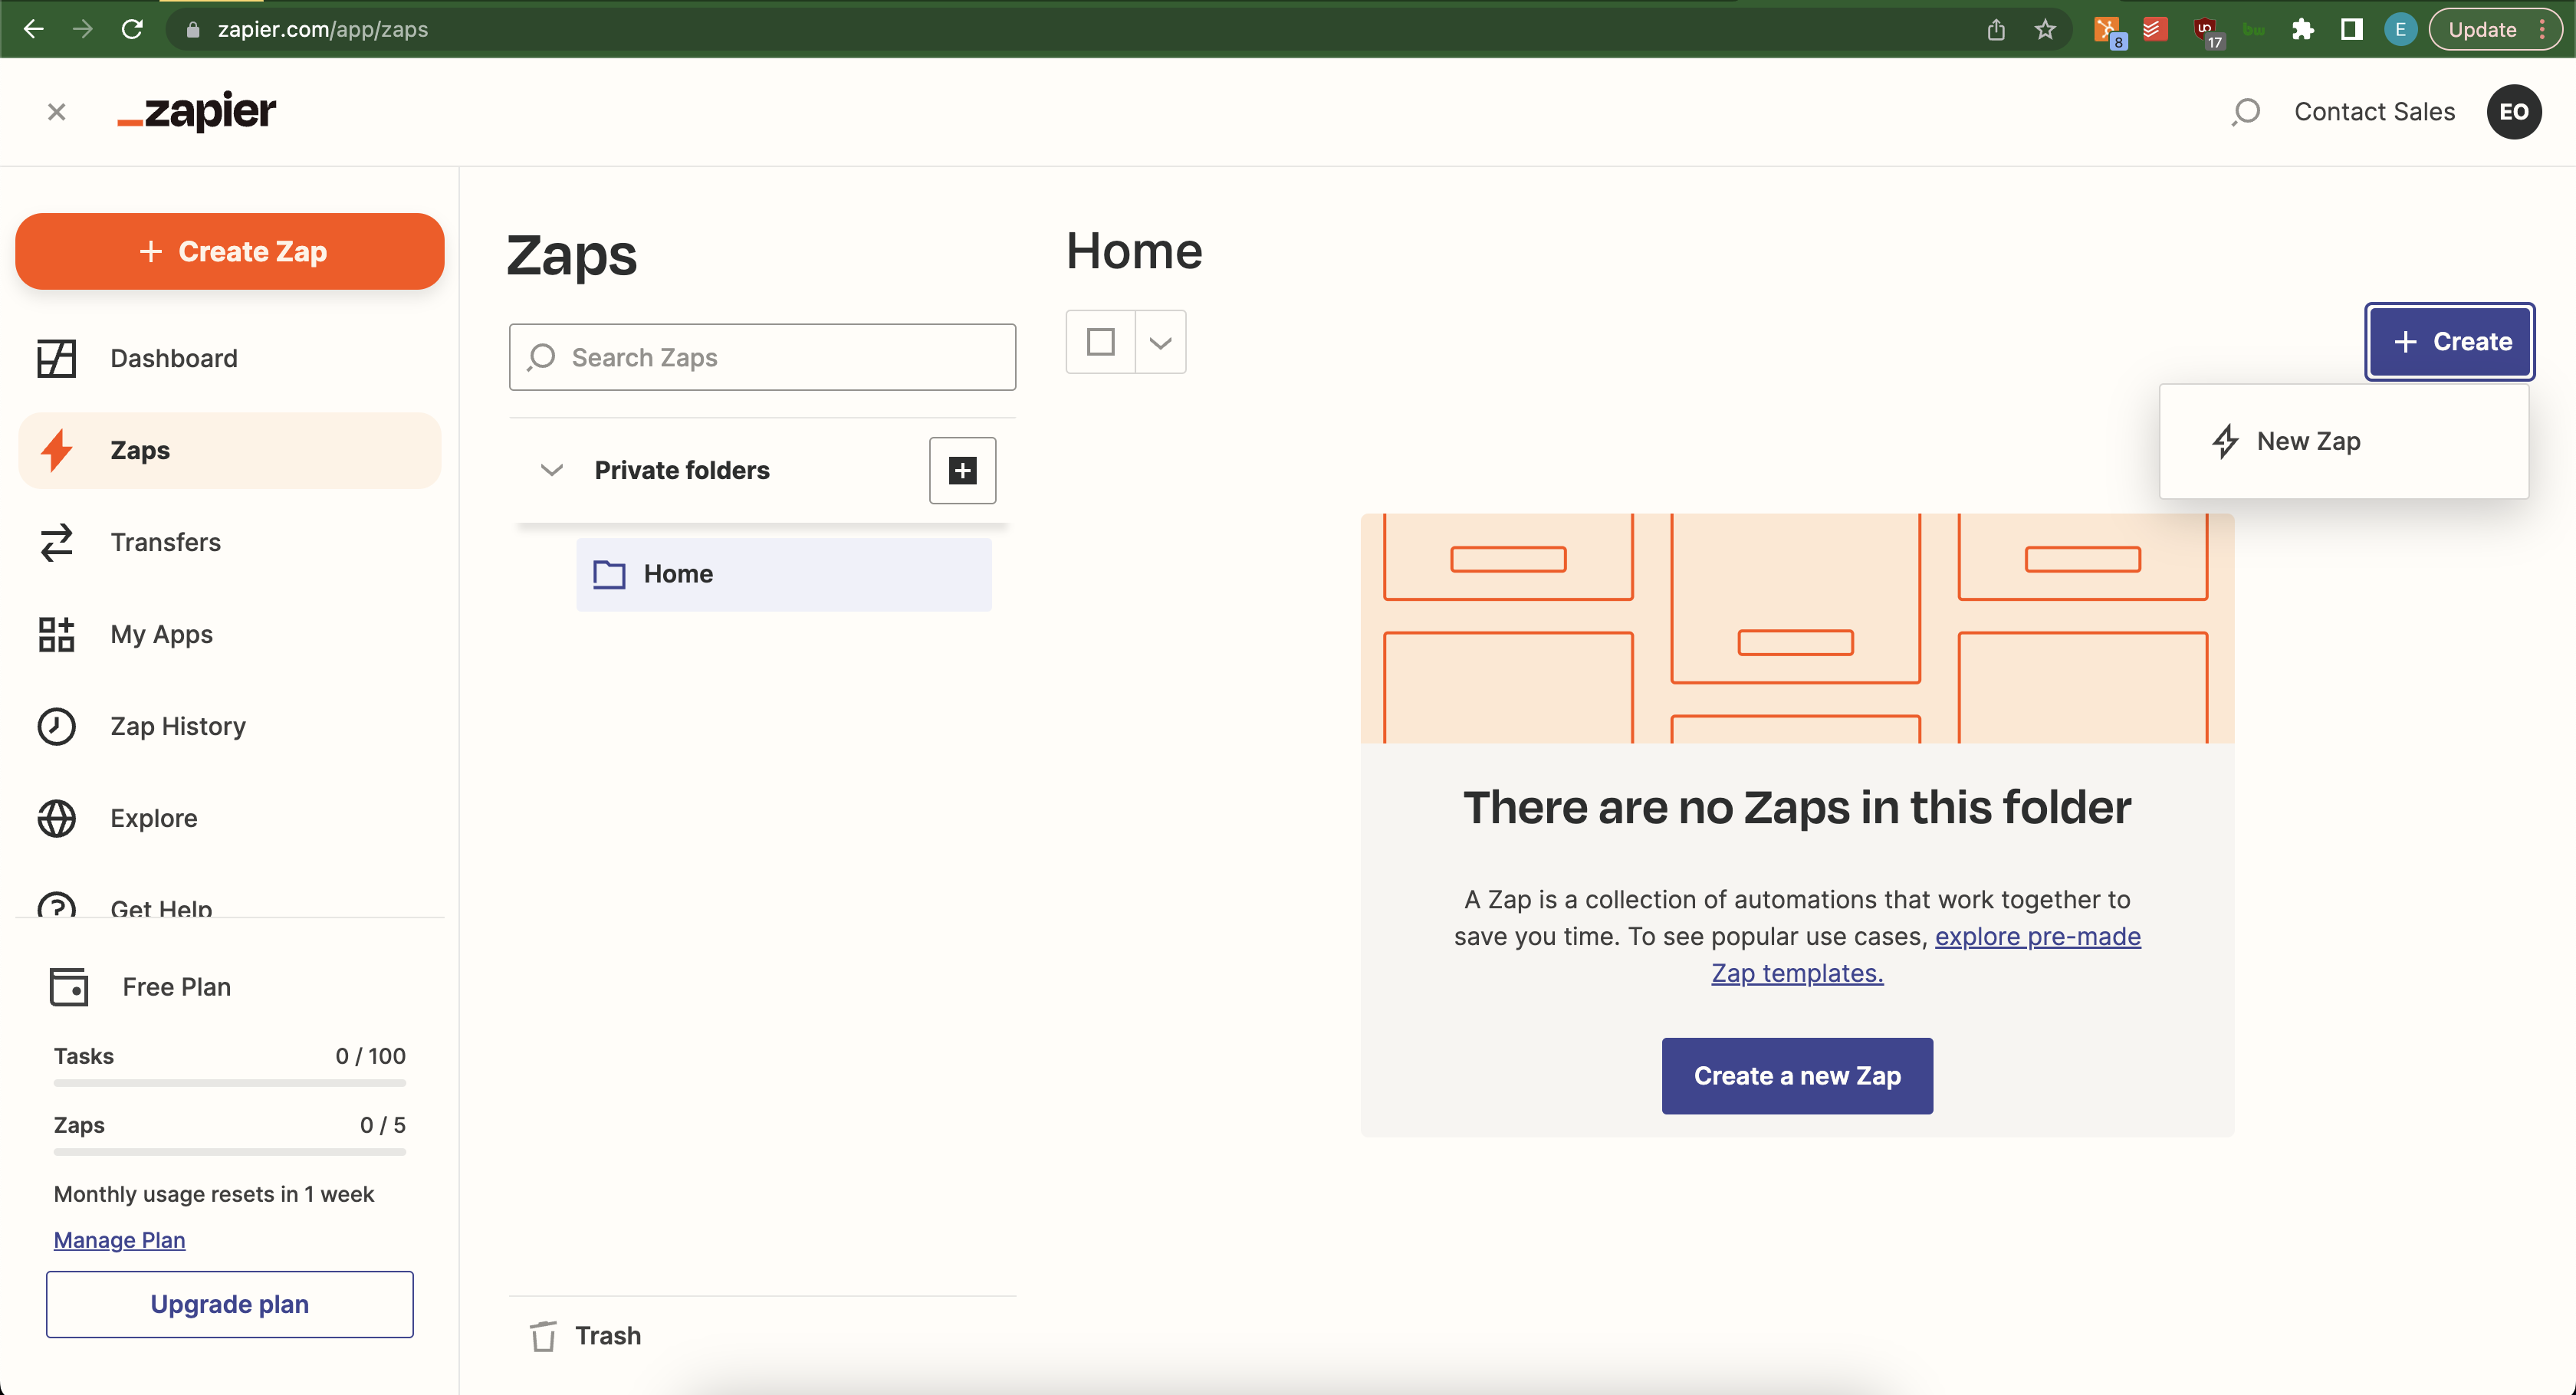
Navigate to your Zapier account using the link in the invitation.
Click Create and then New Zap.
Choose the 11Sight app and the event Call Updated.
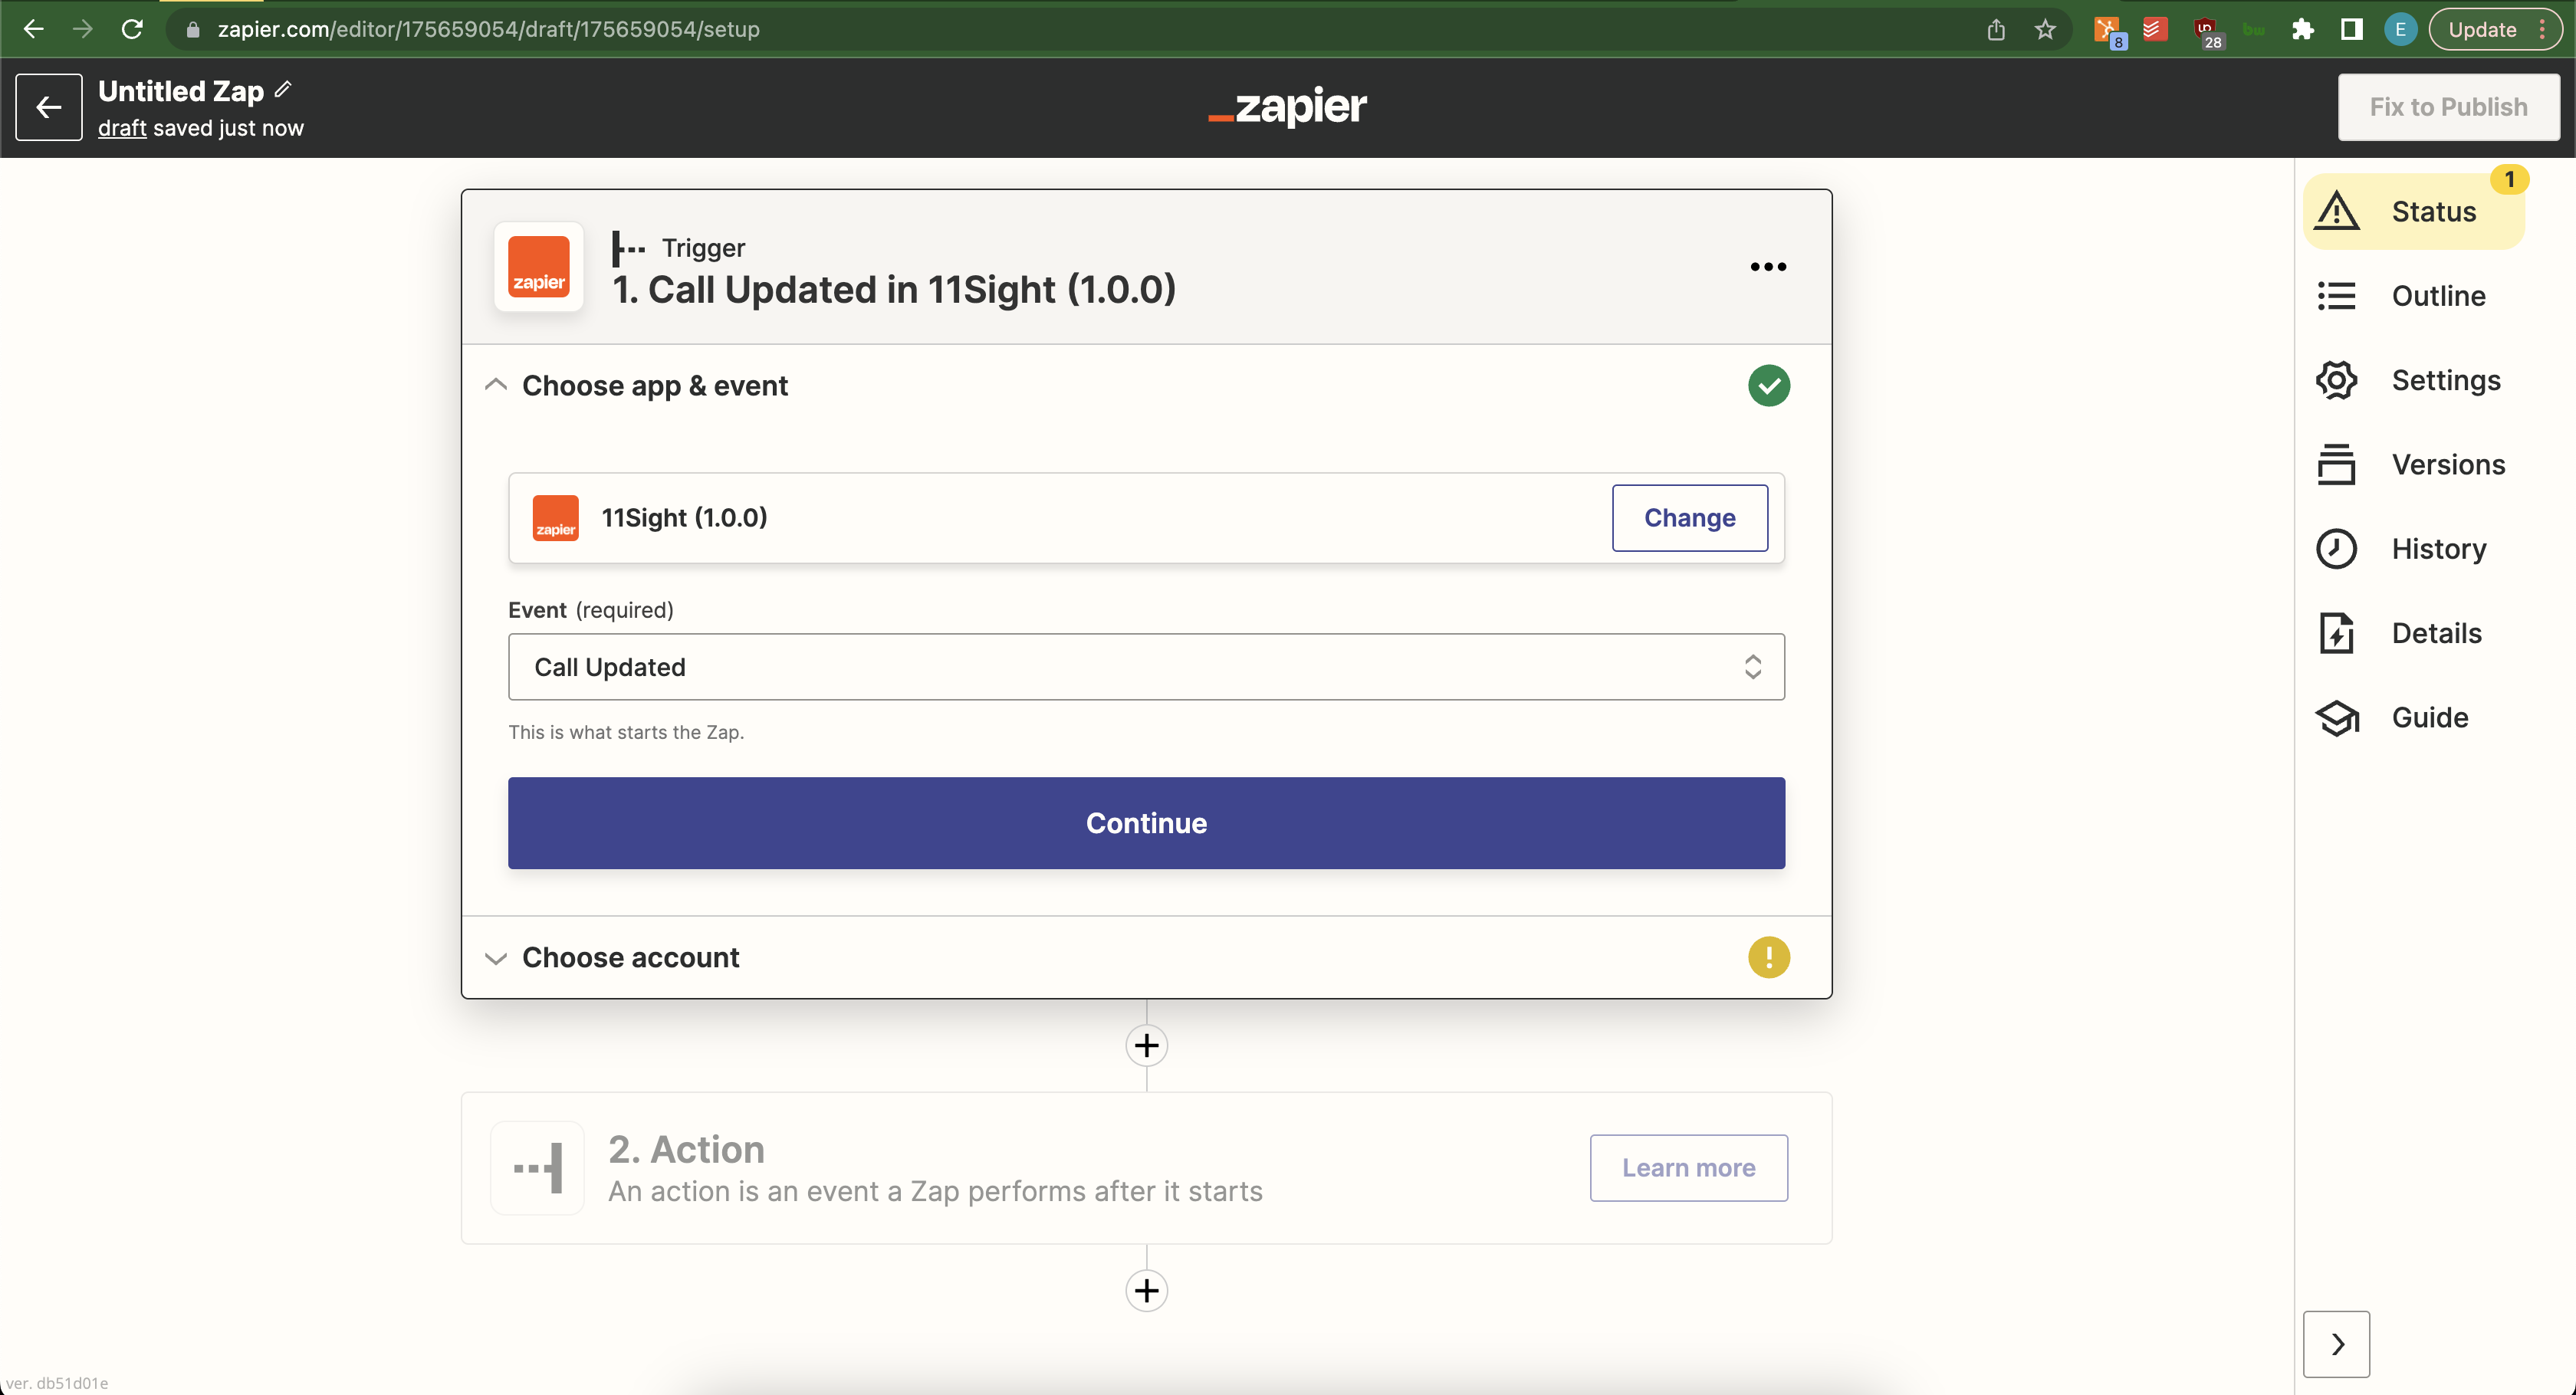
Under Choose Account sign in to your 11Sight account.
Make sure to sign in using an organization owner or manager account to be able to use the integration.
Set up a second action to your CRM or other app using the call and meeting data received through the 11Sight app.